Wednesday, November 13, 2019

Fall Blog Hop with Creative Life Scrapbooking

Welcome to Stop 2 on our Creative Life Scrapbooking Fall Blog Hop!

Embellishments! They are SO cute, but I have to admit I don't always use them as much as I could. When we first started scrapbooking, stickers were all the rage, so the natural inclination is to look for a sticker. Fellow Creative Life Scrapbooker Karyn once taught me that you can even turn a sticker into an embellishment to use with a foam square by rubbing the back with baking soda to remove the stickiness - who knew?

But as we get close to Thanksgiving, Holiday Open House season, and the holidays, I know I have lots of gift plans for people, so I thought, why not take some of these candles and lotions and baked goods and put them in a cute, inexpensive homemade bag? And that's where the embellishments come in! Great way to "bash your stash", right?


Croptoberfest 2019 embellishments (but you can use anything of course!)


 With a pack of inexpensive brown paper bags, a tape runner and several sets of embellishments, I was able to knock out about 20 bags, all within the time span of a couple of "The Office" episodes!


You can either make them open and stuff them with tissue paper once your gift is inside, or use a banner look to create a clasp of sorts to fold the top over! You might want to put a staple or two in the fold just to make sure it doesn't pop open. How cute is this?


Cheap bags, cute gifts!


With Open House season coming up, all of my attendees are going to get these for stopping by. If you don't have a Creative Memories consultant, use the locator to find one near you so you can get some as well!

Thank you for stopping by and be sure to check out all of the other stops along the way! Next on the Hop is my friend Candace at Scrapin JPEGs!

Stop 1 Julie's CM Blog with Julie Tambrini 
Stop 2 YOU ARE HERE! Celebrating Your Beautiful Life with Fran Allen Smitherman
Stop 3 Scrapin JPEGs with Candace Bouldin
Stop 4 Karyn Crops with Karyn McDermaid-Rolfe
Stop 5 D Brinsley's Blog with Diana Miller Brinsley
Stop 6 Lisa's Workshop with Lisa Brown Graham
Stop 7 Organized and Creative Mom with Noreen Smith

Wednesday, August 28, 2019

Summer Blog Hop with Creative Life Scrapbooking


Welcome to our Creative Life Summer Blog Hop! Summer has flown by, hasn't it? Have you been able to take some time for yourself? I sure hope so!

Ours has been a good one, with trips to the beach, Utah and Las Vegas. Naturally,  I am knee deep in photos that I want to save and preserve, but thankfully many of these trips have already been documented in albums because I have made it a priority! My process when I travel is the same every time - upload the memories to my Forever account throughout the trip so I can know they are safe, organize them in albums and nested albums right there in my account, and when I am ready, make a book from them! Depending on the event, I can either create the book quickly in Forever Design and Print online as I did with my beach and Las Vegas pictures, create an elaborate two volume set using Artisan as I am currently working on with my over 3,000 (yes!) photos from our trip to the National Parks, or print a few favorites to add to my traditional Creative Memories albums (those tend to be reserved for every day life for my family!) Whether simple or creative, my story is told and my shelves are full (my heart as well!) 


A lifetime of memories in Creative Memories albums


Christmas, Disney, and Beach trips are perfect in digital books printed by Forever


Quick and easy, drag and drop Forever Design and Print books!


Love the variety of sizes of the books I create (5X7, 8x8 and 12X12)

The point is, making albums doesn't have to be hard, and you just need to be organized with your time and with your photo process so when it IS time to put a book together, you are ready! Having a clean and organized workspace never hurts either - I know I am always more inspired to work when I have a nice table or two  just for memory keeping. 

My scrapbooking room (on a good day!) 


So with that pep talk, let's take a little time to be creative!

Mermaid Cove Using the Scrap Happy Project Recipe

If you have been around a Creative Memories Advisor in the last few years, you might have been fortunate enough to have been handed Project Recipes. If you don't have an Advisor, find one in your area that hosts events if you aren't near me (I am in Alabama) and make sure you start receiving them! They are fantastic.


A binder or Creative Memories Project Recipes for inspiration for page ideas

Binders and page protectors are my favorite office supplies!


Project Recipes are like sketches, and while CM launches them every time they release a new paper pack, I often take the "pattern" and use it with another collection. I have done that here with the Mermaid Cove Paper and Stickers using the Scrap Happy project recipe! I love how it turned out :) Sea creatures and tide pools, what a perfect way to highlight those. I also made a mini album using Mermaid Cove and the Hexagon Explosion Album idea, be sure and like our Creative Life Scrapbooking Facebook Page to see all of our posts! We share every week and also do the occasional virtual crops so we'd love to have you follow us.


The CM "Scrap Happy" Project Recipe featuring the Mermaid Cove paper and stickers


Card Making with Rainbow Rush


And for some quick card projects, all you need to do is make a few borders, grab some stickers, and put them together for when you are in need. I had these borders leftover from some projects I had already finished, and I thought I should use them for cards. Creative Memories sells a box of plain cards and envelopes for $6, so I keep several of those around for when I have some time to knock out a few cards. I used Rainbow Rush primarily to make these - I also used the new and gorgeous Lace Trim Border punch to make the lace on the gingham ones. Easy, done, ready to give away!


Blank cards and envelopes from Creative Memories


Cards created using Rainbow Rush paper and stickers


Whether you prefer to make digital books, traditional books, cards, or all of the above, I can help you, so respond in the comments or shoot me a message and I can help you get inspired to bring your photos into your life in a meaningful way.  Be sure and check out the other ideas on the Blog Hop! Here are the links:


Stop 1: Karyn Crops with Karyn McDermaid-Rolfe
Stop 2: Julie's Creative Memories Blog with Julie Tambrini
Stop 3: Crop with Stef with Stefani Jones
Stop 4: YOU ARE HERE! Celebrating Your Beautiful Life with Fran Smitherman
Stop 5: Scrapin JPEGs with Candace Bouldin 

Wednesday, May 29, 2019

Spring Blog Hop - Final Stop


Greetings and welcome to the final stop on our Spring Blog Hop! Fran Smitherman here, and while this may be our spring blog hop, down here in the South we are ready for summer. School is out and we are beach bound soon - but not before I wrap up the finishing touches on some pictures from our trip last September using the latest and greatest tools, paper and stickers from Creative Memories! Do you have some favorite vacation photos to work with? If so, then read on!

If you love Nautical themes, then 
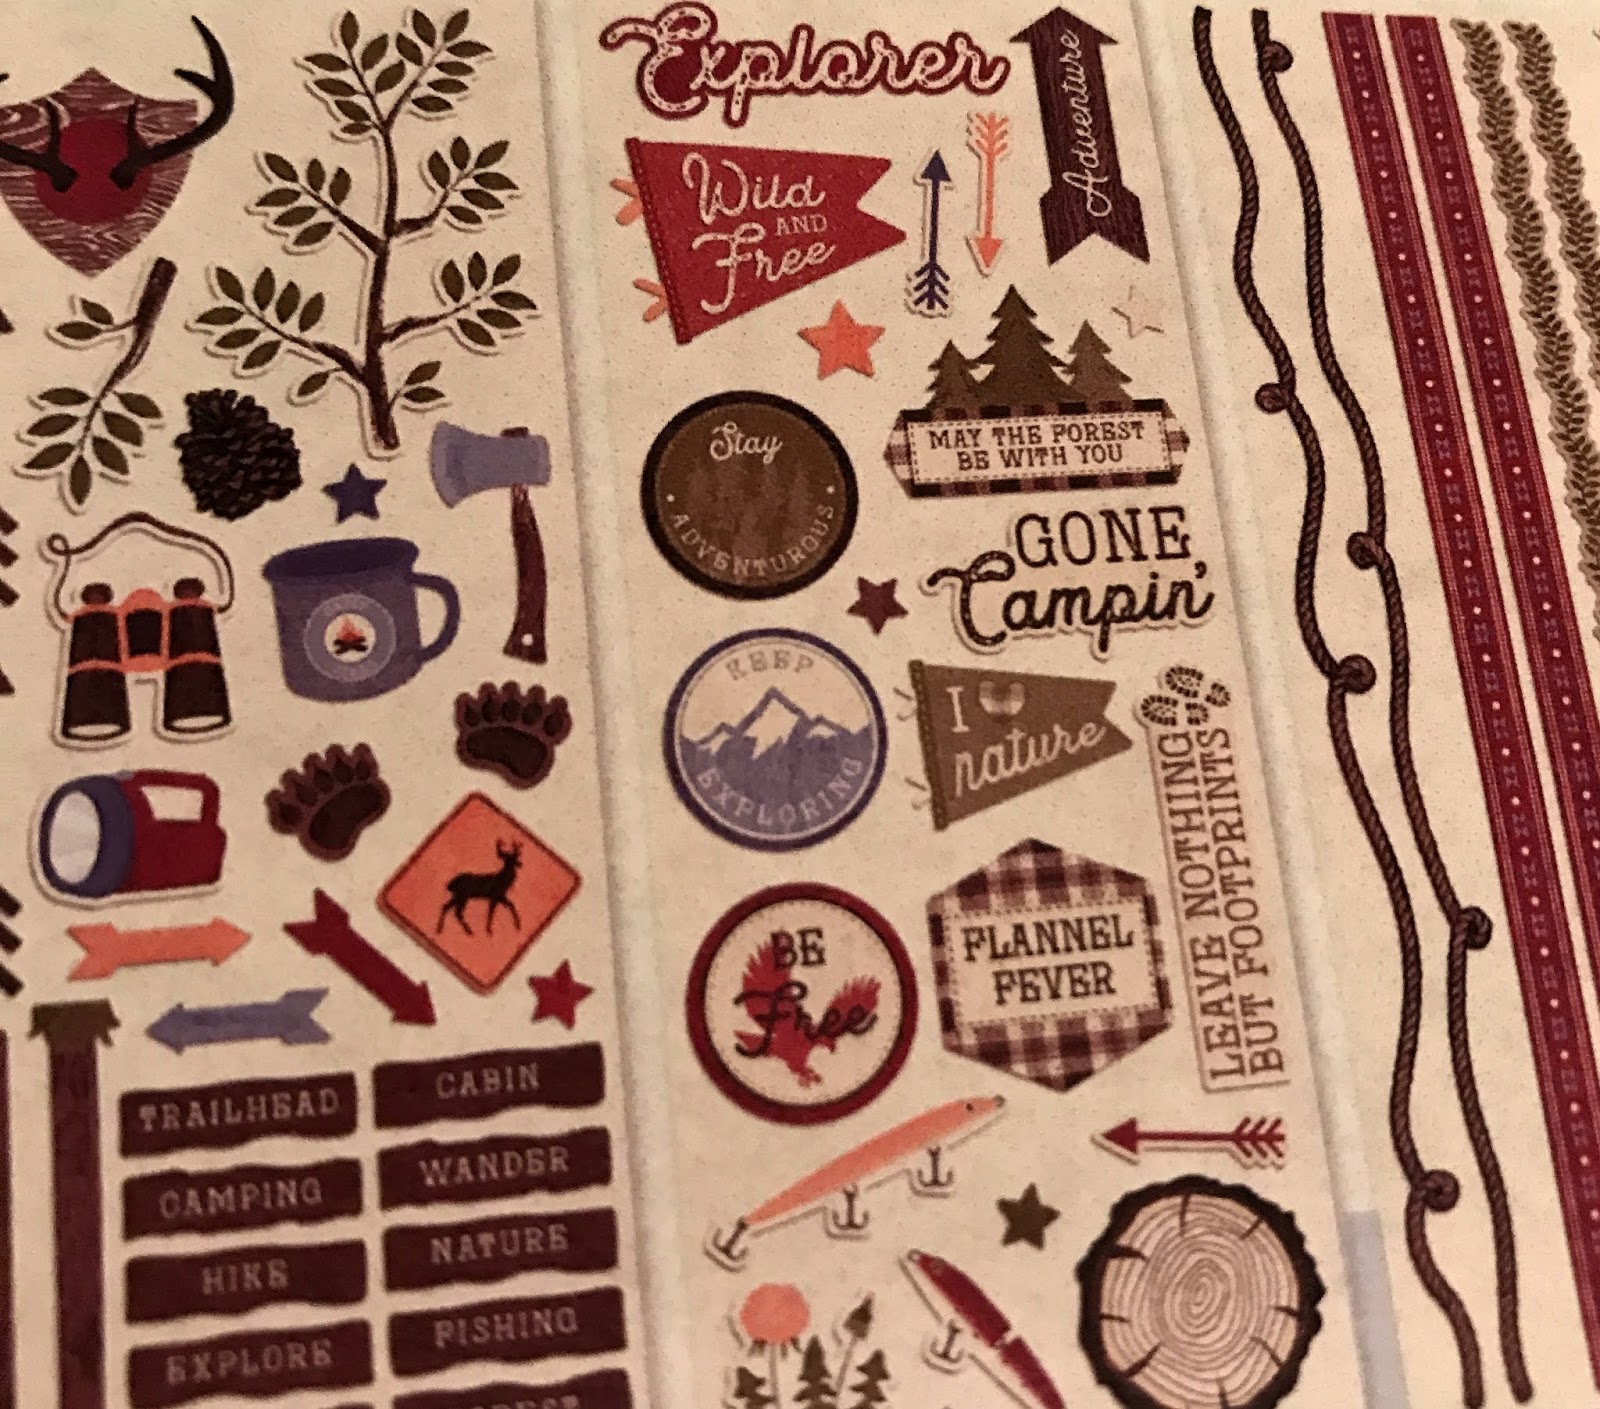
Deep Blue Sea is for you, and if you are more of the "outdoorsy" type during the summer, then you will want to check out the Explorer line! I have had the opportunity to use both recently, and I think you will find them both to be very versatile and great enhancements for your photos! Throw in some of the latest tools and your pages will be styling in no time.


Night Swimming! Layout for Beach Pics at Night

For my first layout, I wanted to capture a walk on the beach at night with the light glowing from the condo windows. While I would typically think of the Cityscape punch as being something to use in a strictly urban setting, by adding some yellow cardstock behind in for a glow and snipping off some of the decorative building toppers that didn't quite look like beach condos, I think I achieved the look I was going for. What do you think? 

By the glow of the condos!

On the second side of the layout I kept a cleaner look, like the dunes in the distance, with a Double Wave tearing tool to give the uneven effect and a cloud sticker from the Deep Blue Sea sticker set. Notice that I used the Wave blade from the 12-inch Rotary trimmer system on the photos (three at a time, by the way!) and their mats. I am loving the new trimmer and my customers and I can't wait for them to come back in stock later in June!

The beach at night!
Nighttime at the beach - now it's time to journal this and make the pages complete!

Paper and stickers from Creative Memories' "Deep Blue Sea" line
Cityscape Standalone Punch

Creative Memories' new 12-inch rotary trimmer has a space underneath for 12 blades!

A place to store more blades!
Explorers! Mini Albums for Little Hands

For my next project, I wanted to make some mini albums for my boys to use as journals for an upcoming trip out west to see the National Parks. The Explorer line was exactly what I needed! These albums were very inexpensive and easy to make with a handful of navy and white cardstock sheets, some circle rings, a hole punch, the Explorer stickers, and just two of the decorative sheets of Explorer paper.

Mini 6x6 albums for little hands to record memories of a vacation!

I started with a stack of Navy Blue and White 12X12 carstock. I alternated every other color in the stack before I cut (you will see why in just a moment!) I sliced it down the middle vertically to make two sides that were 12 inch high, 6 inches wide, then I rotated those to do the cut again. I had 6X6 squares and was ready to make the most out of just a handful of supplies!

The new 12 inch Rotary trimmer's straight edge was able to cut several sheets of cardstock at a time for me

I love how you insert the blade and it only "comes out" when you press down on the housing unit as it is cutting - to me that is an excellent safety feature

I cut the 12inch tall/6inch wide strips again to make 6X6 squares
Not wanting to do a lot of decorating, I selected the sheet of designer paper with the borders and basically just cut them all into strips by their design, then used my trimmer to slice those in half, one for each boy's book. I decorated the  pages with these borders and the Explorer stickers, and for the album, I envision one side for journaling, one side for a photo of the day. See how it all came together:

A sheet of borders to cut from the Explorer decorative paper pack


A few extra sheets of cardstock for journaling on the navy side of the album

Once everything was decorated (including using the wood grain paper for the back of the book, and while not necessary, a laminator made a nice touch), I got out the hole puncher and the circle rings to assemble these books.


 I made sure that no two sides were the same color. I wanted white for journaling when possible, and the navy side for a photo to be adhered upon returning home from the trip!


 The boys liked their albums and I can't wait to see what they fill them with!

I hope you have enjoyed the "hop" and don't forget to follow Creative Life Scrapbooking on Facebook for more great ideas every week! Follow me personally at Celebrating Your Beautiful Life to stay up to date on all things digital and traditional, and if you started with my blog, be sure to check out all of the rest of the ideas here:


Noreen Smith Organized and Creative Mom

Karyn McDermaid-Rolfe Karyn Crops


Julie Tambrini Julie's CM Blogspot


Diana Miller Brinsley D Brinsley's Blog


Stefani Jones Crop with Stef


Lisa Brown Graham Lisa's Workshop


Fran Smitherman YOU ARE HERE Celebrating Your Beautiful Life